Table of contents
The Run Restore page lets you launch and monitor the restore process that has been selected in the previous dialogs.
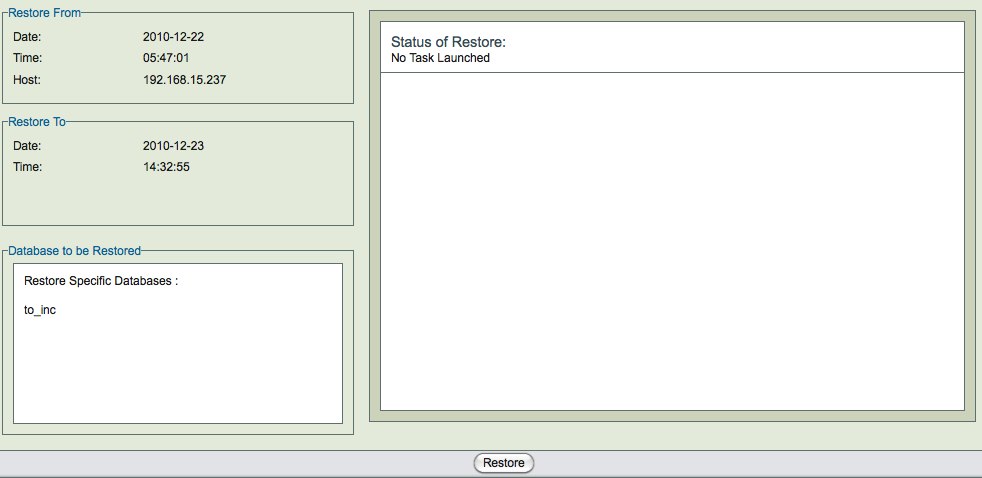
The three panels on left side (Restore From, Restore To, and Database to be Restored) of the page contain the data previously gathered. Note the the Restore To host is displayed only if it differs from the the Restore From host.
The restore process uses disk space under the temporary directory configured in the Backup Where page. The amount of disk space required depends on the number of backup images required for restoration and the backup method used.
Restores can take a long time if the database is large. The status of the restore process is shown in right hand panel. The restore process can be cancelled using the Cancel link that appears in the right hand pane. ZRM will cancel the restore process only when it is safe to do so (i.e, will not cause data corruption or loss of data).
Restore task can be cancelled:
- Before restore process starts
- When waiting for user input
- Between restoration of images i.e, i.e, between full backup restoration and incremental backup restoration and between incremental backup restorations.
Only the process running on the ZRM server are stopped during cancellation. All processes on the MySQL server may have to be stopped manually.
After restoration, it is important to check the database(s)/table(s) that were restored. SQL command CHECK TABLE can be used for consistency checking. Use of EXTENDED option is recommended. EXTENDED option does a full key lookup for all rows in the table and will take significant time for a large database.
mysql> CHECK TABLE <table1>, <table2> EXTENDED;
No other application can be using the database during table consistency check.
When you are restoring databases with InnoDB tables to a MySQL server that already has InnoDB tables, the common InnoDB files are overwritten (ib_data and ib_logfile*). ZRM displays a warning message :
Backup directory contains InnoDB data and InnodDB log files, During the
restore process these files will be overwritten on target MySQL server. You may
loose the existing data from the MySQL server. Are you sure you want to
continue the Restore?
It is important to make sure there are no InnoDB tables in the MySQL server being restored to. Please see restoration of InnoDB tables section below for an alternative.
Restoring to a MySQL replication slave
This procedure can be used to instantiate a MySQL slave.
You need to follow the procedure from the MySQL manual on how to set up replication. Instead of steps 3 and 5, you can use ZRM backups of the master server to restore the data to the slave server in step 5.
After restoring data to the replication slave either from backup images of MySQL master or another MySQL replication slave, you need to set up configure master server information on the slave.
Perform MySQL CHANGE MASTER TO command on the replication slave as shown below
mysql> CHANGE MASTER TO
    ->     MASTER_HOST='replication_master_host_name',
    ->     MASTER_USER='replication_user_name',
    ->     MASTER_PASSWORD='replication_password',
    ->     MASTER_LOG_FILE='value from next-binlog parameter from ZRM reports',
    ->     MASTER_LOG_POS=0;
MASTER_LOG_FILE
This value can be obtained from ZRM reports for the backup that was restored. Use ZRM Custom Reports page and look at Next BinLog parameter for the backup run.
MASTER_LOG_POS
The master-log-position will be zero because logs are rotated when backups are performed.
Restoring a table from a database backup
If you have performed backup using Xtrabackup, you can restore one or more InnoDB table(s) from a database backup. You should selected the tables for restoration in the Restore Where page. ZRM restore process exports the innoDB tables.
The exported innoDB tables will have to be manually imported into Percona MySQL server. These steps will have to be performed manually and are documented in the Percona manual (version 5.5). Similar feature is available for MySQL 5.6.