Table of contents
- 1.1. Download
- 1.2. Upgrade from Amanda enterprise 2.6
- 1.3. Pre-installation tasks
- 1.3.1. Amanda Rapid Installer
- 1.4. Begin Installation
- 1.5. Installer Steps
- 1.6. Post Installation
- 1.7. Alternate Installation Modes
- 1.7.1. GTK
- 1.7.2. X-Window
- 1.7.3. Unattended Installation
- 1.8. Additional Command line parameters
- 1.9. Examples of Changes in Defaults
- 1.9.1. Apache and MySQL ports
- 2. Unistall
- 3. Links to Knowledge base
INSTALLATION OF ZMC
Download
- Download Amanda enterprise edition with Zmanda Management Console.
- Amanda enterprise edition with ZMC packages are available in the Zmanda network downloads page.
- Amanda enterprise edition with ZMC package contains Amanda enterprise server, Amanda enterprise client, Zmanda Management Console and dependencies for Red Hat Enterprise Linux distribution and Suse Linux Enterprise distributions.
- Amanda enterprise edition with ZMC is supported on RHEL3, RHEL4, RHEL5, , Cent OS 3, Cent OS 4, Cent OS 5, Fedora Core 3, Fedora Core 4, Fedora Core 5, Fedora Core 6, SLES9 and SLES10 platforms.
- There is one common binary for all these platforms
- Amanda enterprise edition with ZMC is installed on the backup server and it supports Amanda enterprise 2.6.1, 2.6 and 2.5.1 Update 1 clients.
**For all other distributions and Amanda clients, download rpm packages or client packages from the Zmanda network downloads page.
Upgrade from Amanda enterprise 2.6
- When users are upgrading from Amanda enterprise version 2.6, they need to click start the installation as usual ( described in detail in the next section.)
- The software auto-detects that a version of Amanda enterprise is already installed. At the moment it does not detect whether the existing version is same as the new version or older to it.This is being fixed.
- Users then get an option to upgrade the installation.
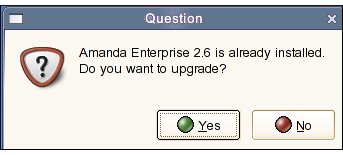
- If, for some reason, users decline to upgrade at that moment, the Installer gracefully quits without disturbing the existing setup.
- If users go ahead with the upgrade, the process is automatic requiring least intervention by the user.
- The user intervention is the license acceptance and a confirmation that the user wants to install on a non supported distribution, if that is the case.
- Once the upgrade has been accepted and started, canceling it will make the old installation invalid.
- When users will try to access it via the browser, it will give an error that it cannot reach the localhost.
- Restart the upgrade and complete it for the application to work properly.
.
Pre-installation tasks
Amanda Rapid Installer
ZMC is installed by the Amanda Rapid Installer. This installer needs to be run on the system which will be the Amanda server. The installer will install the Amanda server, client and ZMC.
- The Installer requires that the server has a minimum of 100 MB free space.
- The Amanda Rapid Installer is a X based application. So, a user either needs a monitor attached to the system on which the user is installing or the user needs to enable remote display of X applications from that server to the desktop.
- NB: Once ZMC is installed via the Amanda Rapid Installer, a user needs only a browser to connect to the Amanda server to access ZMC.
- ZMC needs the monitor resolution to be set to a minimum of 1024 x 768 or higher.
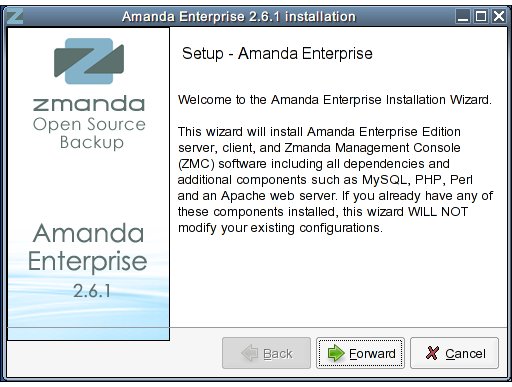
Begin Installation
1.Copy the Amanda Rapid Installer binary file to the host where users want to install ZMC and Amanda server.
2.Login in to the host as superuser.
3.Make sure that the installer binary is executable:
# chmod +x amandaenterprise-2.6.1-installer.bin
4.Run the installer by double-clicking on it or invoke it on the command line
# ./amandaenterprise-2.6.1-installer.bin
6. A GUI based installer will start the process of installation.
7. Please follow the on-screen instructions.
- NB: The installer does several tasks after creating and populating various directories. This is done after its progress bar (which tracks unpacking of the archive) has shown 100% completion.
- These tasks take time. Please wait till they complete.
- Installer package includes Amanda enterprise edition 2.6.1 server and client for all supported distributions, Zmanda Management Console, MySQL, PHP, Apache, PHPmyadmin, Perl and various perl modules and their dependencies.
- Version 2.6.1 also includes ZMC my.cnf file for MySQL database.
- Procedure to change the default values in the my.cnf file is given later.
- The Installer follows the steps given below.
- Users already familiar with the steps, can jump forward to the next section.
8. For installation in certain other modes, please see sections that follow.
9. The Installer will install Amanda version 2.6.1 or higher on the system.
- ZMC directories will be installed in the path /opt/zmc
- The Installer will create all the necessary subdirectories automatically.
Installer Steps
Installation on non-supported distributions
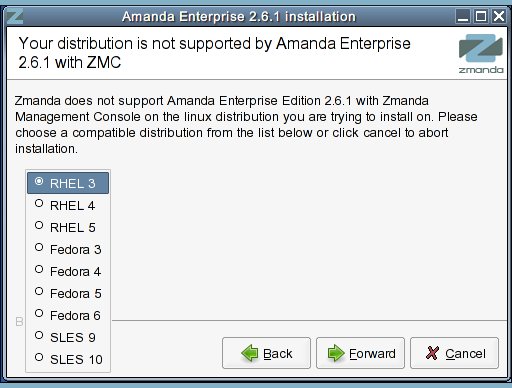
- The Installer checks if the Linux distribution is supported or not.
- If it is a non-supported distribution,it displays the following warning:
- Press 'Yes' to continue.
Installation Steps
- Begin Installation:
- This is an optional page that does not appear for distributions supported by ZMC. The correct binary is automatically selected by the Installer. This option will only be displayed if the distribution is not supported by Zmanda Management Console. Please contact [email protected] before choosing a unsupported distribution.
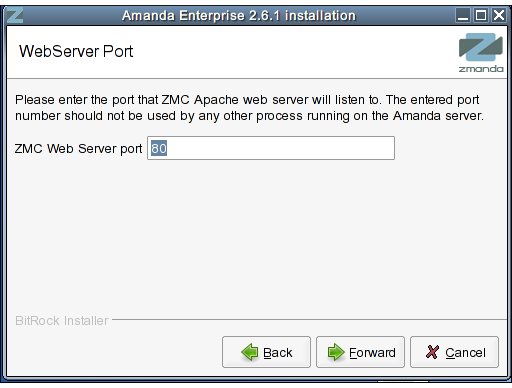
- Choose ZMC web server and MySQL server ports:
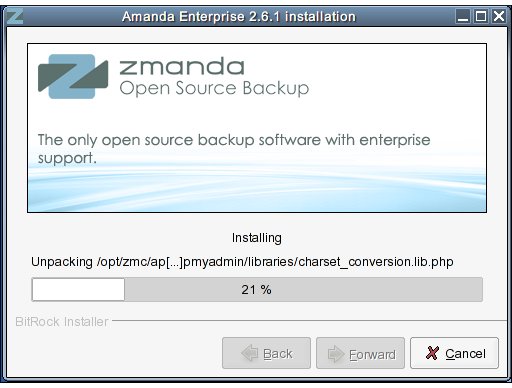
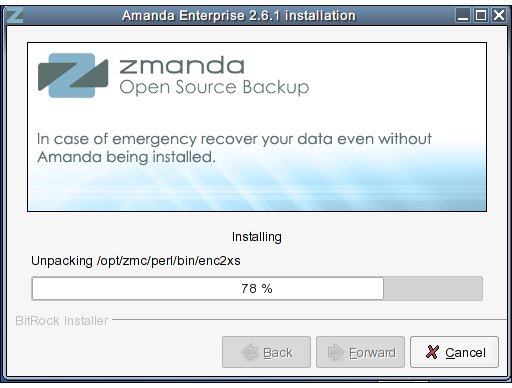
- Creating Directories and Unpacking Software automatically:
- Continuing Installation:

- More:
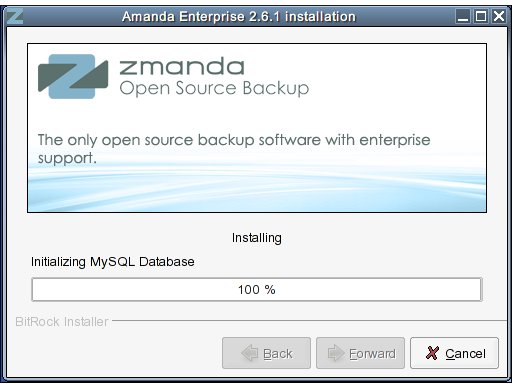
- Create ZMC database :
- README file will be displayed. The README file contains the default ZMC user and password. Users can launch Zmanda Management Console in a browser:
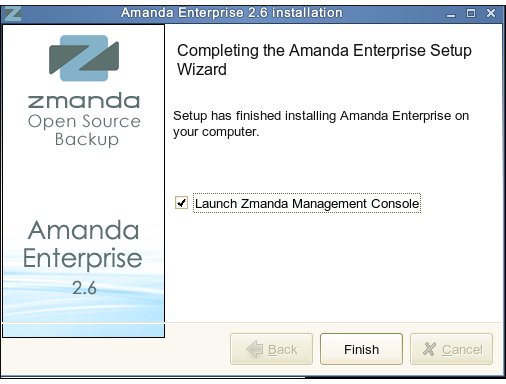
Post Installation
10. On completion of installation:
A: ZMC will be launched.
B: Read Me.txt will display text containing late breaking news in a separate window.
C: ZMC does not change any previous Amanda Configuration files that exist on that Server.
D: Un-installation is enabled.
While un-installing, the Backup Set Configurations created by a user will be left intact.
When a user re-installs ZMC on a different host, a user can copy them there.
- ZMC has created a user 'amandabackup' on the server.
Alternate Installation Modes
GTK
- GTK: This is a native installation mode based on the GTK 2.0 toolkit.
- The GTK libraries must be present in the system (they are installed by default with most Linux distributions).
- This is the default installation mode.
- If the GTK libraries are not available, the X-Window installation mode will be automatically used instead.
X-Window
- X-Window: This is a self-contained installation mode that has no external dependencies.
- It will be started when the GTK mode is not available.
- It can also be explicitly requested with the --mode xwindow command line switch.
Unattended Installation
- Unattended Installation: Using the --mode unattended command line option, perform unattended or silent installations
- This is useful for automating installations or for inclusion in shell scripts, as part of a larger installation process.
Additional Command line parameters
- Invoke the installer with the --help command line option to see Additional Command line parameters.
Amanda Enterprise 2.6.1 Usage:
--help  Display the list of valid options

--version Display product information

--optionfile <optionfile> Installation option file
  Default:

--mode <mode> Installation mode
 Default:
 Allowed: gtk xwindow text unattended

--debugtrace <debugtrace>      Debug filename
  Default:

--apache_port <apache_port>    ZMC Web Server port
  Default: 80

--mysql_port <mysql_port>      ZMC MySQL Server port
  Default: 3306

--mysql_password <mysql_password> ZMC MySQL Server root password
  Default:

--phpmyadminpasswd <phpmyadminpasswd> Password
  Default:
Examples of Changes in Defaults
Apache and MySQL ports
- To change the default Apache and MySQL ports during installation, an user can use:
#./amandaenterprise-2.6.1-installer.bin --mysql_port 3333 --apache_port 8888
Note: Make sure those ports are not used by other services. The MySQL port cannot be a reserved port (port number less than 1024).
- To change the defaults after the installation (For example, if a user wants to change ports: Apache port to 8888, MySQL port to 2222)
To change Apache port :
- Modify /opt/zmc/apache2/conf/httpd.conf, Look for "Listen" keyword
Listen 8888
To change MySQL port :
- Modify /opt/zmc/mysql/my.cnf,
- If default value of port as 3306 had been accepted during installation, the file will look as under and will be installed in /opt/zmc/mysql/my.cnf . The value of port will be that set during the installation.
 Contents:

 [client]
 port = 3306
 socket = /opt/zmc/mysql/tmp/mysql.sock

 [mysql]
 port = 3306

 [mysqld]
 port = 3306
 basedir = /opt/zmc/mysql/
 datadir = /opt/zmc/mysql/data/
 socket = /opt/zmc/mysql/tmp/mysql.sock
 pid-file = /opt/zmc/mysql/data/mysqld.pid
- Change "port" parameter in [client], [mysql] and [mysqld] sections.
port = 2222
Unistall
- ZMC can be unistalled by clicking the unistall script /opt/zmc/unistall .
- Please follow the instructions on the screen after the script has started.
Links to Knowledge base
- Check that Amanda server and Amanda client are properly set up on the Amanda server