Zmanda Documentation > VerifyInstallation
VERIFY INSTALLATION
Introduction
Verify Installation Page Overview
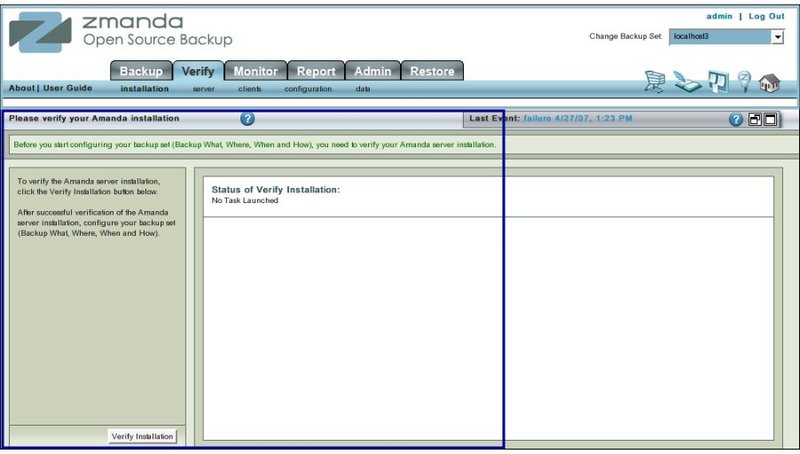
- Like all other functional pages of ZMC, the Verify Installation page has its main functionality in the center, while other common-to-most-pages functionalities are grouped at the top of the page.
- Explanation of common functionalities enclosed in a light blue rectangle at top in Fig 1 can be found on Common Functionality page.
- In the image above,the main functionality area is enclosed in the lower Navy Blue rectangle.
Verify Installation Page Main Functionality
- The main functionality of the Verify Installation page is to allow users to check out the installation of ZMC. Configuration set during the Amanda enterprise edition installation are verified through this page.
- Verify installation action has to be performed whenever Amanda Enterprise Edition is installed or upgraded.
- It need not be done whenever a new Backup Set is configured.
Procedure to Verify Installation
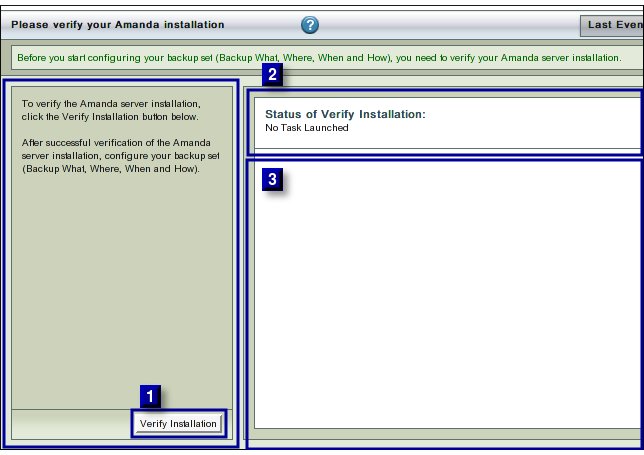
- Click the Install Button (labeled No 1 above) to start the process.
- The text in Upper Right hand Rectangle (labeled No 2 above) will change to indicate that the Installation Verification process has started.
- Further progress messages/ error messages will then appear in Rectangle 3.
Success Messages
- Success has the following message:
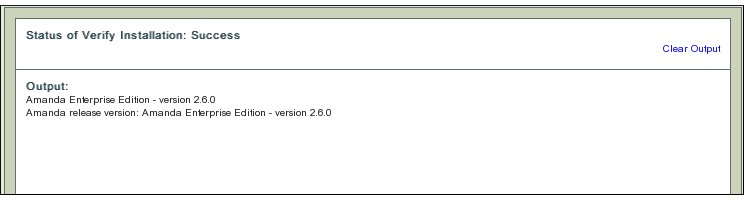
Clear Output
- To clear old messages, click the Clear Output hyper link present at Upper Right Hand corner in Rectangle 2.
- Clicking it will restore the page to a initial clean status from where the Verification process can be re-started.
Move to...
- If Users have not configured a Backup Set, they should move to Backup What page.
- Otherwise users should go to Verify Configuration page that is on the next tab.