Table of contents
RUN RESTORE PROCESS
Introduction
- The Run Restore is the third and last step in the recovery/restore process in Zmanda Management Console.
Run Restore Page - Main Functionalities
- The main functionality of the Run Restore page is to allow users to actually restore the data to the directory they have chosen . The data will be restored as per the conflict resolution options that they have specified.
Run Restore Page Overview
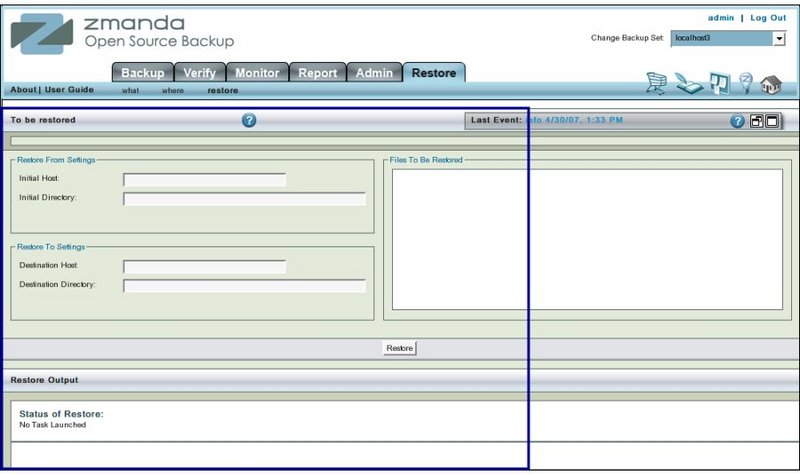
- Like all other functional pages of ZMC, the Run Restore page has its main functionality in the center, while other common-to-most-pages functionalities are grouped at the top of the page.
- Explanation of common functionalities enclosed in a light blue rectangle at top in Fig 1 can be found on Common Functionality page.
- In the image above,the main functionality area is enclosed in the lower Navy Blue rectangle.
Run Restore Page – Procedure
Restore From / To Settings panel
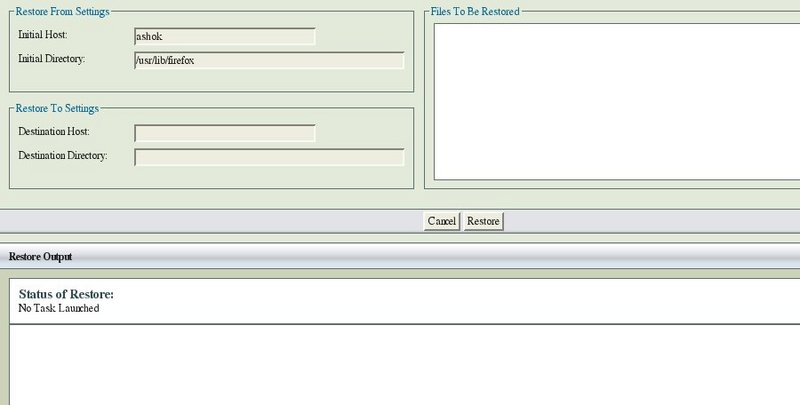
- The left panel (No 1 above) displays the Restore From and Restore To settings that have been set earlier in Restore Where pages.
- These are not editable here.
- If any editing has to be done to the data displayed, it has to be done on Restore What and Restore Where pages.
Directories / Files to be Restored
- The left panel (No 2 above) also displays the Directories /Files to be restored that have been selected earlier in Restore What pages.
- These are not editable here.
- If any editing has to be done to the data displayed, it has to be done on Restore Where pages.
Page Turner control
- To cater to long lists of items that may be needed to be restored,the list at the bottom has a page turner control.

Output panel
- The right hand panel, Output panel, (No 3 above), is initially blank showing a message that "No Task Launched".
- If there had been an earlier restore operation,it will show that output.
- Clicking Clear output hyper link will clear the panel.
Restore Button
- When Restore Button is clicked, it changes its message and asks for the password to the Destination Host (if ssh key exchange has not been setup).
- If ssh key exchange is setup it will tell users which tapes will be required for this restore operation.
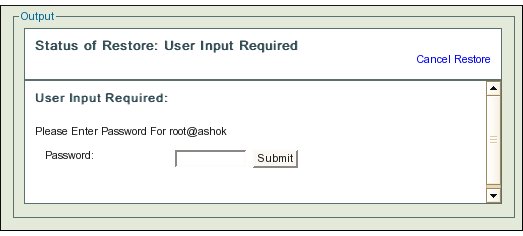
- Supply the password and click the Submit button.
Submit Button
- Restore task will start on clicking the Submit Button.
- It will ask users to supply the appropriate tapes in the appropriate slots.
- If an archive spans more than one tape, ZMC will prompt for additional tapes as required.
- Once all tapes have been supplied, the Directories/Files will be restored in the Destination Directory.
- Necessary changes will be made to the Existing files as per the chosen option(s).
Next Step
- The page has no dependencies. Users are free to go to any other page or quit the application.
- Most users will want to open the files restored to check that they contain the proper data.